

Checking your PC’s usage of each CPU core is a good way to determine how your system is dealing with the current workload.
This can help inform you whether you have a powerful enough processor to deal with the task or hand. Most simple tasks will only require the performance of a single CPU core, but more complex workloads, such as video editing or gaming, will require more resources.
It’s difficult to determine which components of your PC are causing a performance bottleneck, but checking the CPU core usage can go a long way to finding the answer.
In this guide we’ll be detailing how to find the usage of each of your CPU cores when running any tasks on your Windows PC.
What you’ll need
- A Windows PC
The short version
- Open Task Manager
- Click on the performance tab
- Right-click on the graph
- Hover over ‘Change graph to’ and select Logical processors
- Check out the detailed breakdown of your CPU
Step
1Open Task Manager

We did this by searching Task Manager in the Windows search bar, but you can also use the keyboard shortcut Ctrl + Shift + Esc.
Step
2Click on the performance tab
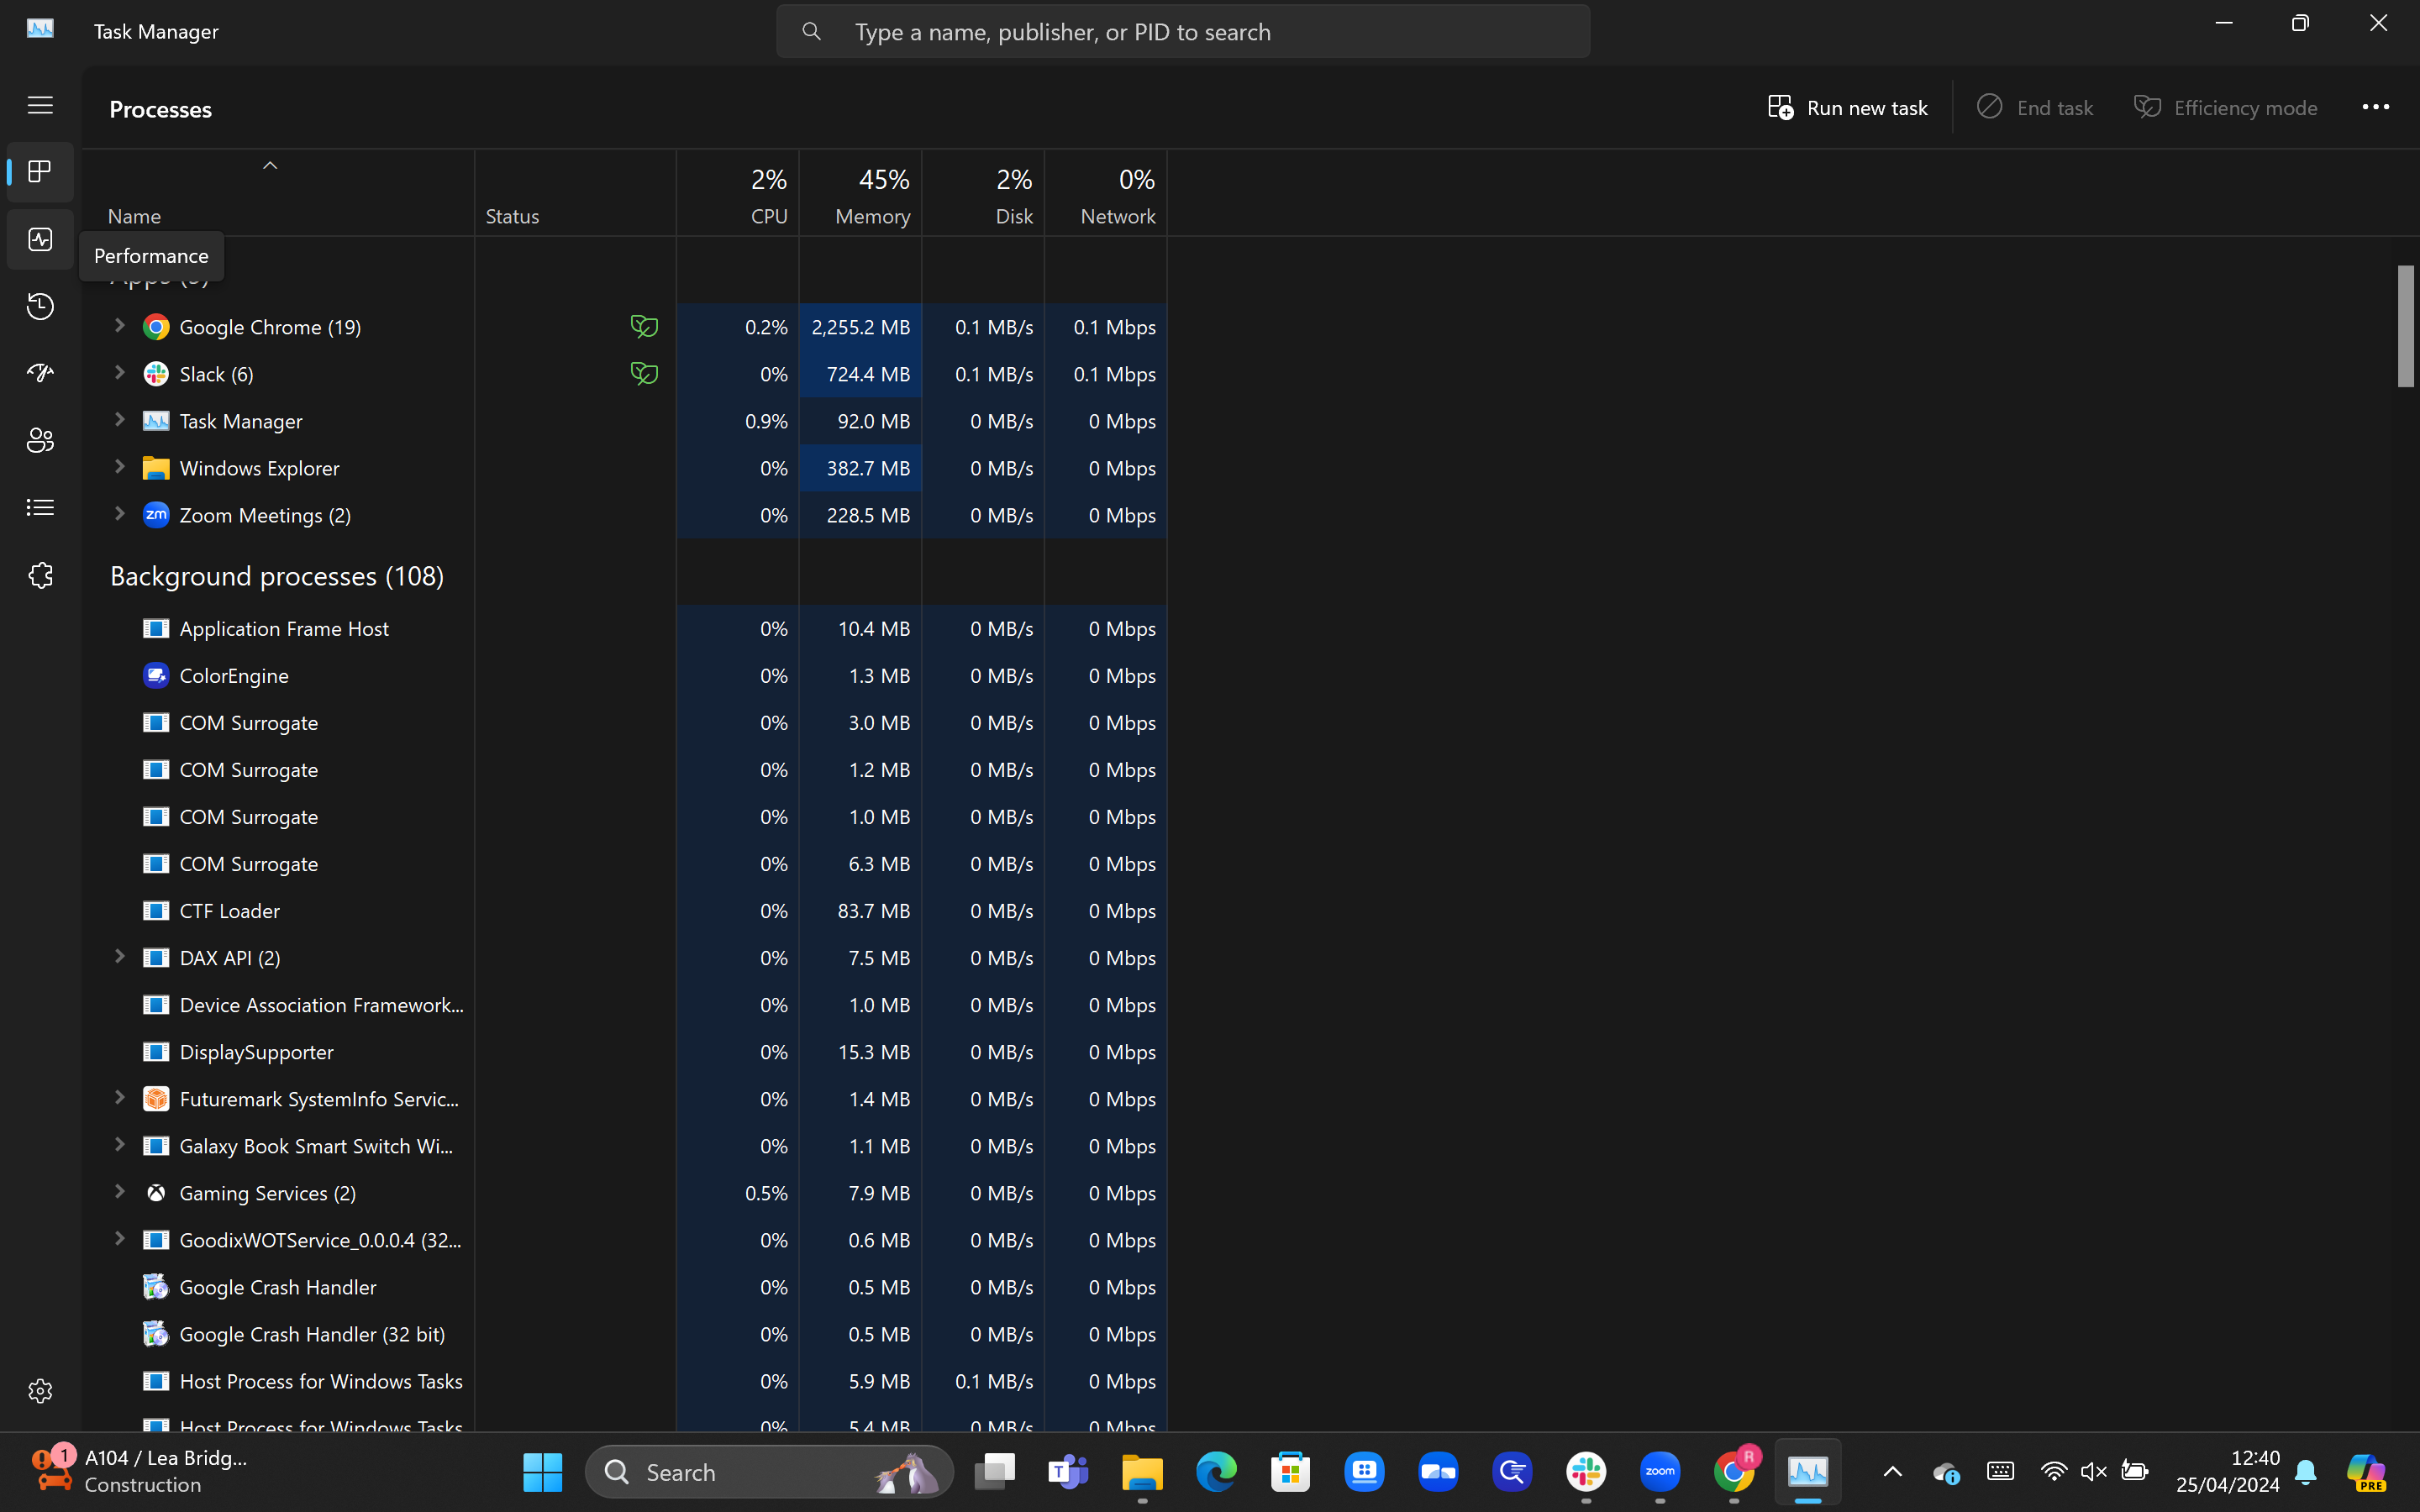
The processes tab should open by default, listing all of the apps and current processes that your PC is running. To check your CPU core usage, click on the Performance tab in the left-hand column.
Step
3Right-click on the graph
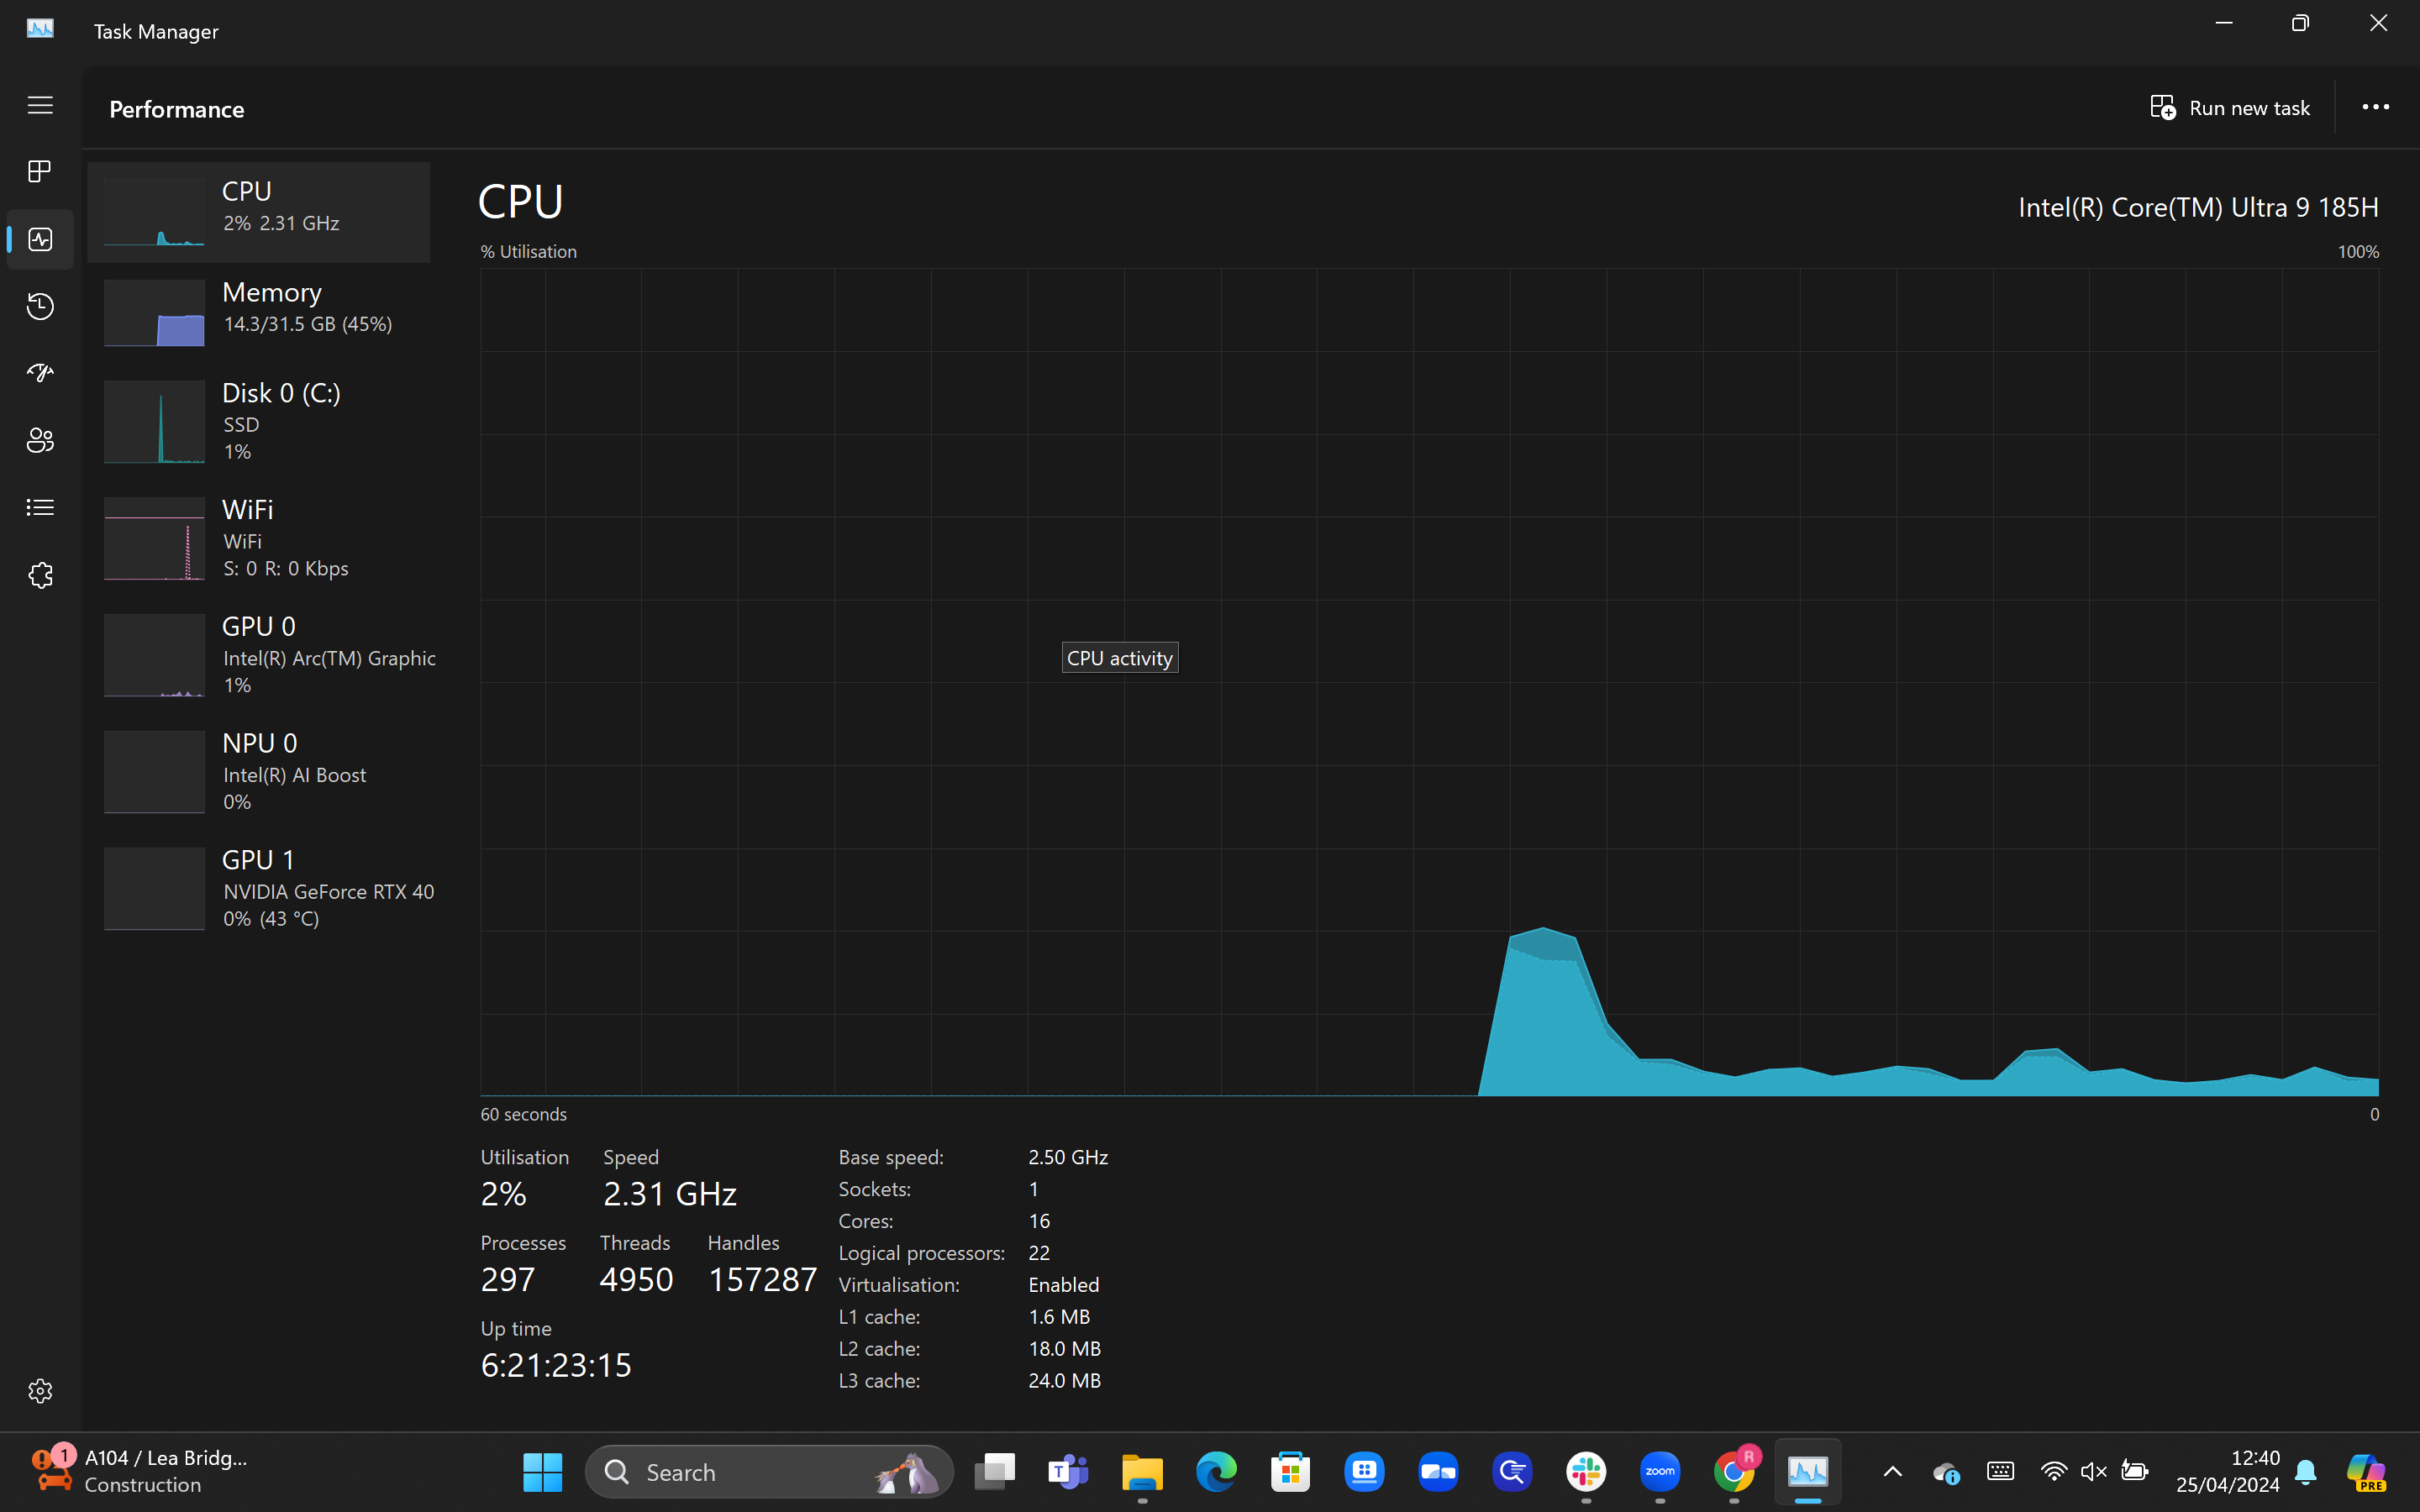
You should now see a graphic detailing the overall utilisation of your CPU, with metrics such as the speed listed underneath. For a breakdown of the usage per core, right-click on the graph.
Step
4Hover over ‘Change graph to’ and select Logical processors
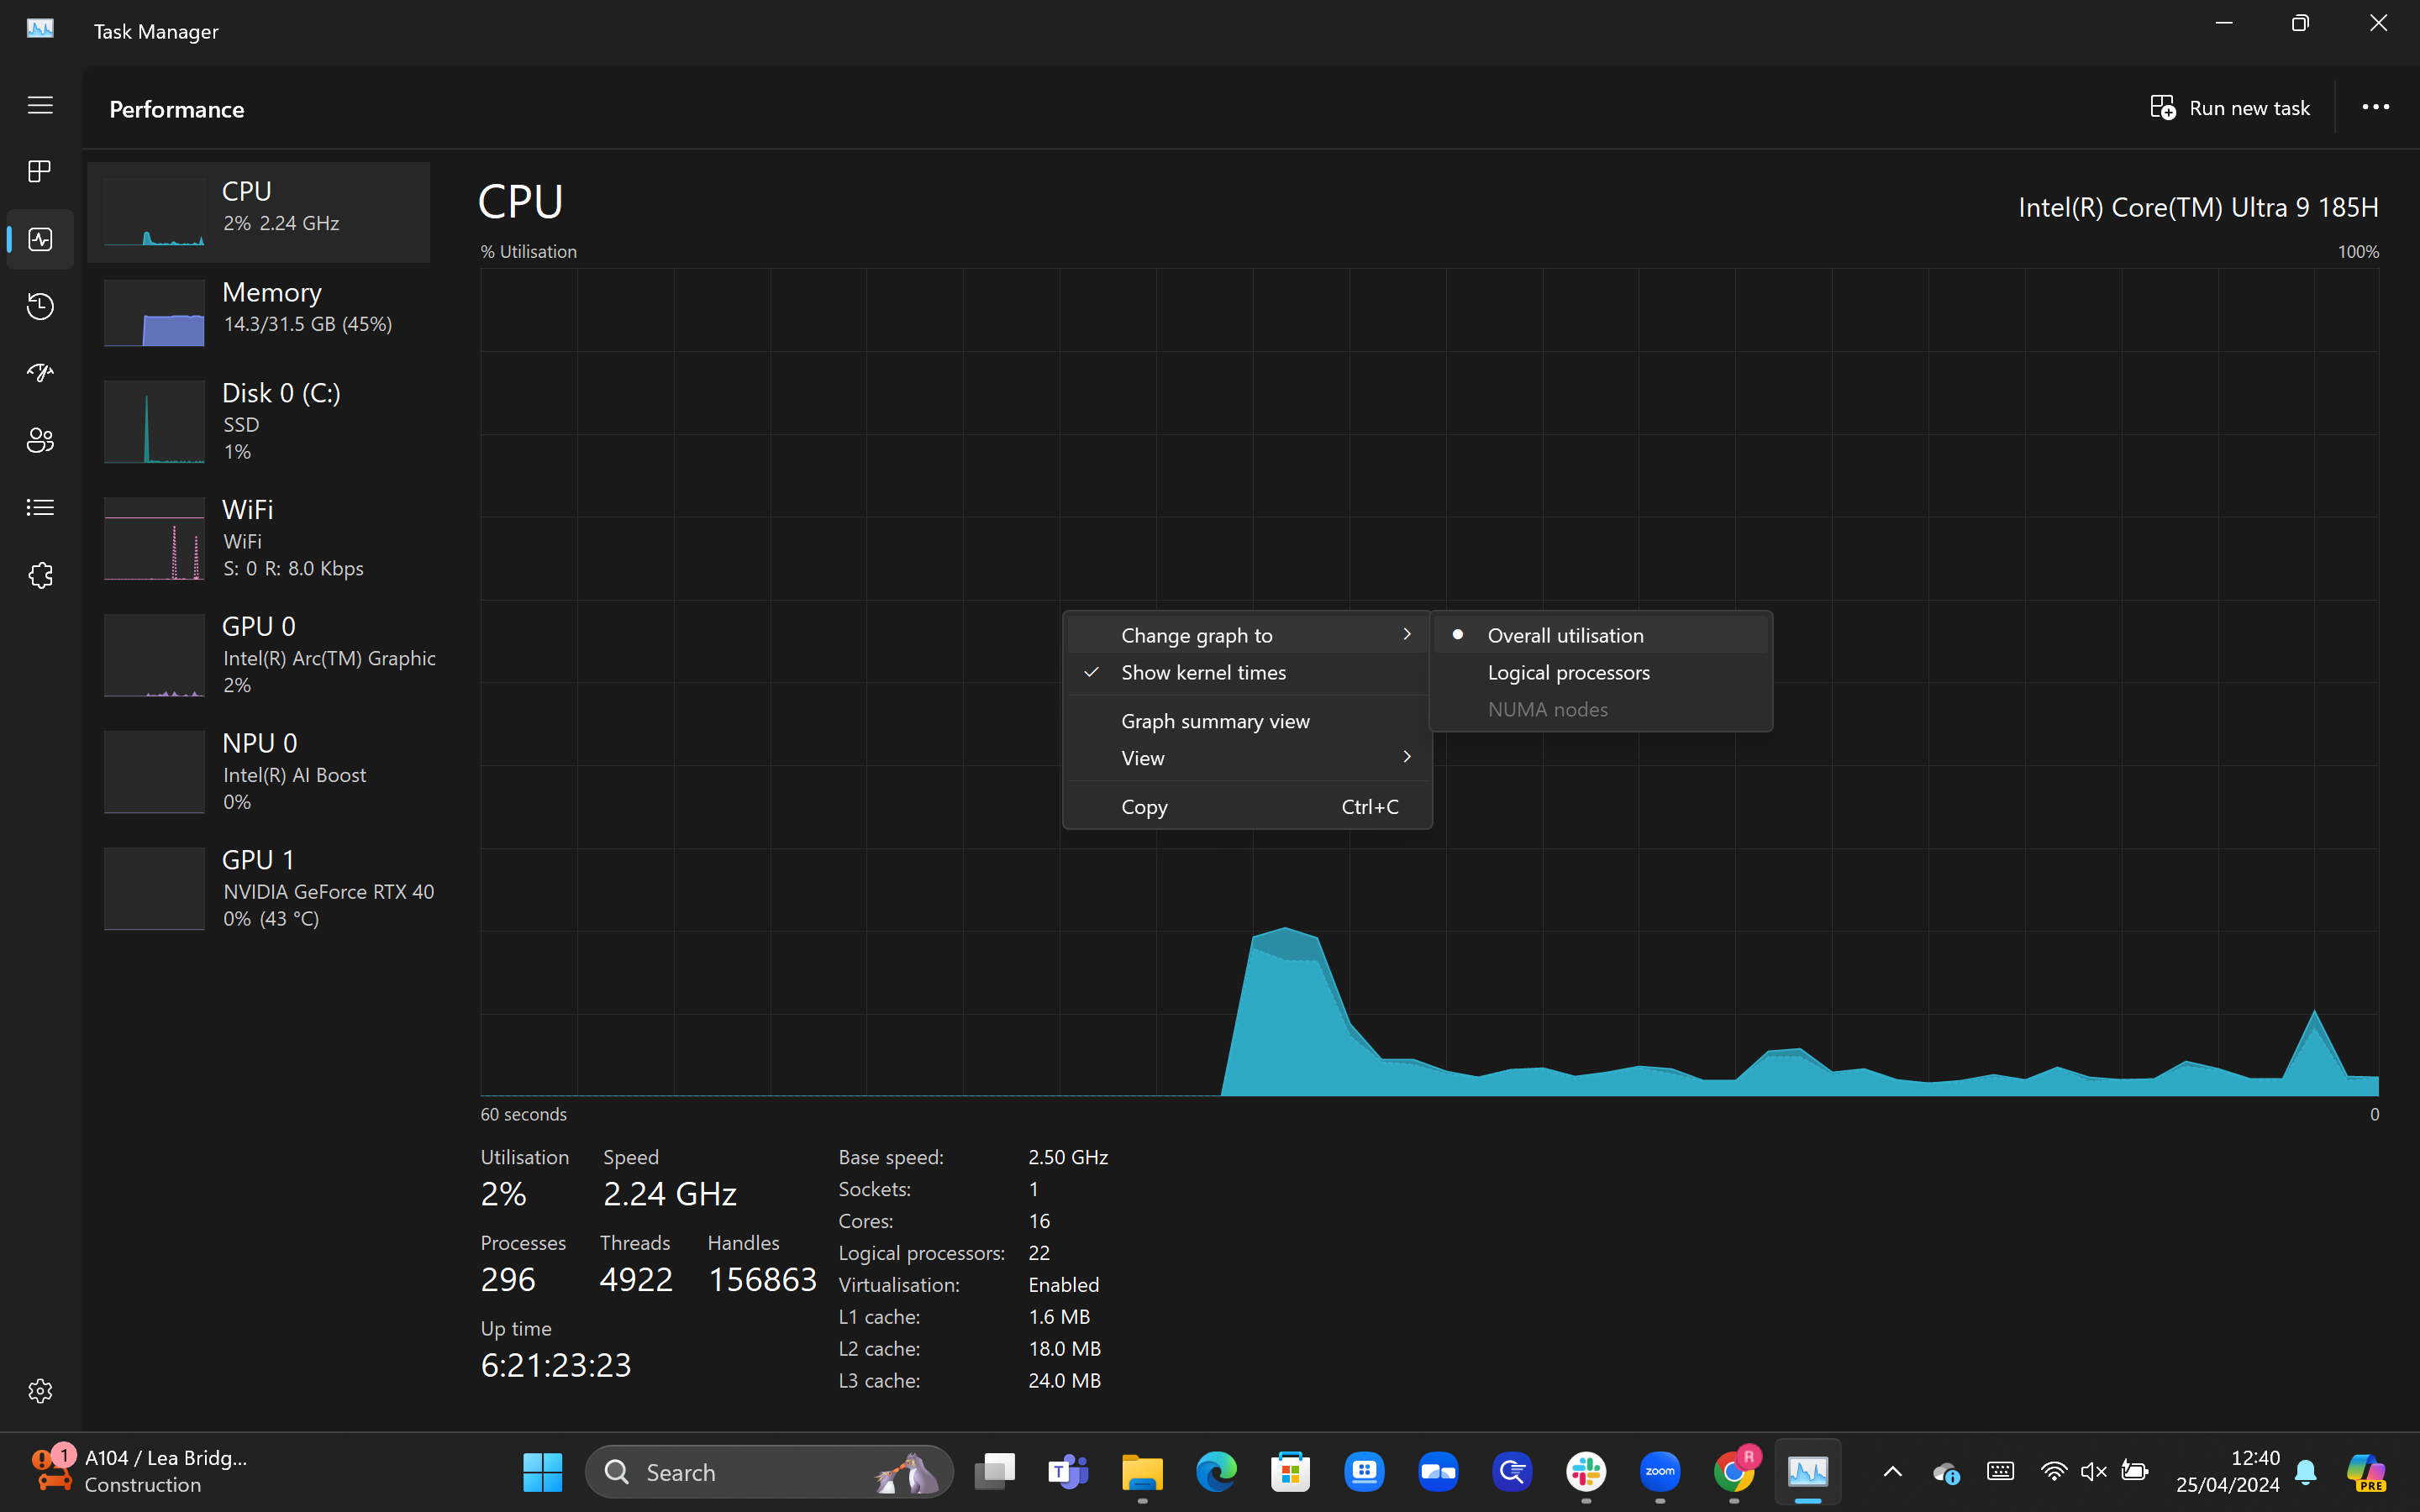
After right-clicking, a pop-up box should appear. Hover over the ‘Change graph to’ option listed at the top, and then click on the option for Logical processors.
Step
5Check out the detailed breakdown of your CPU
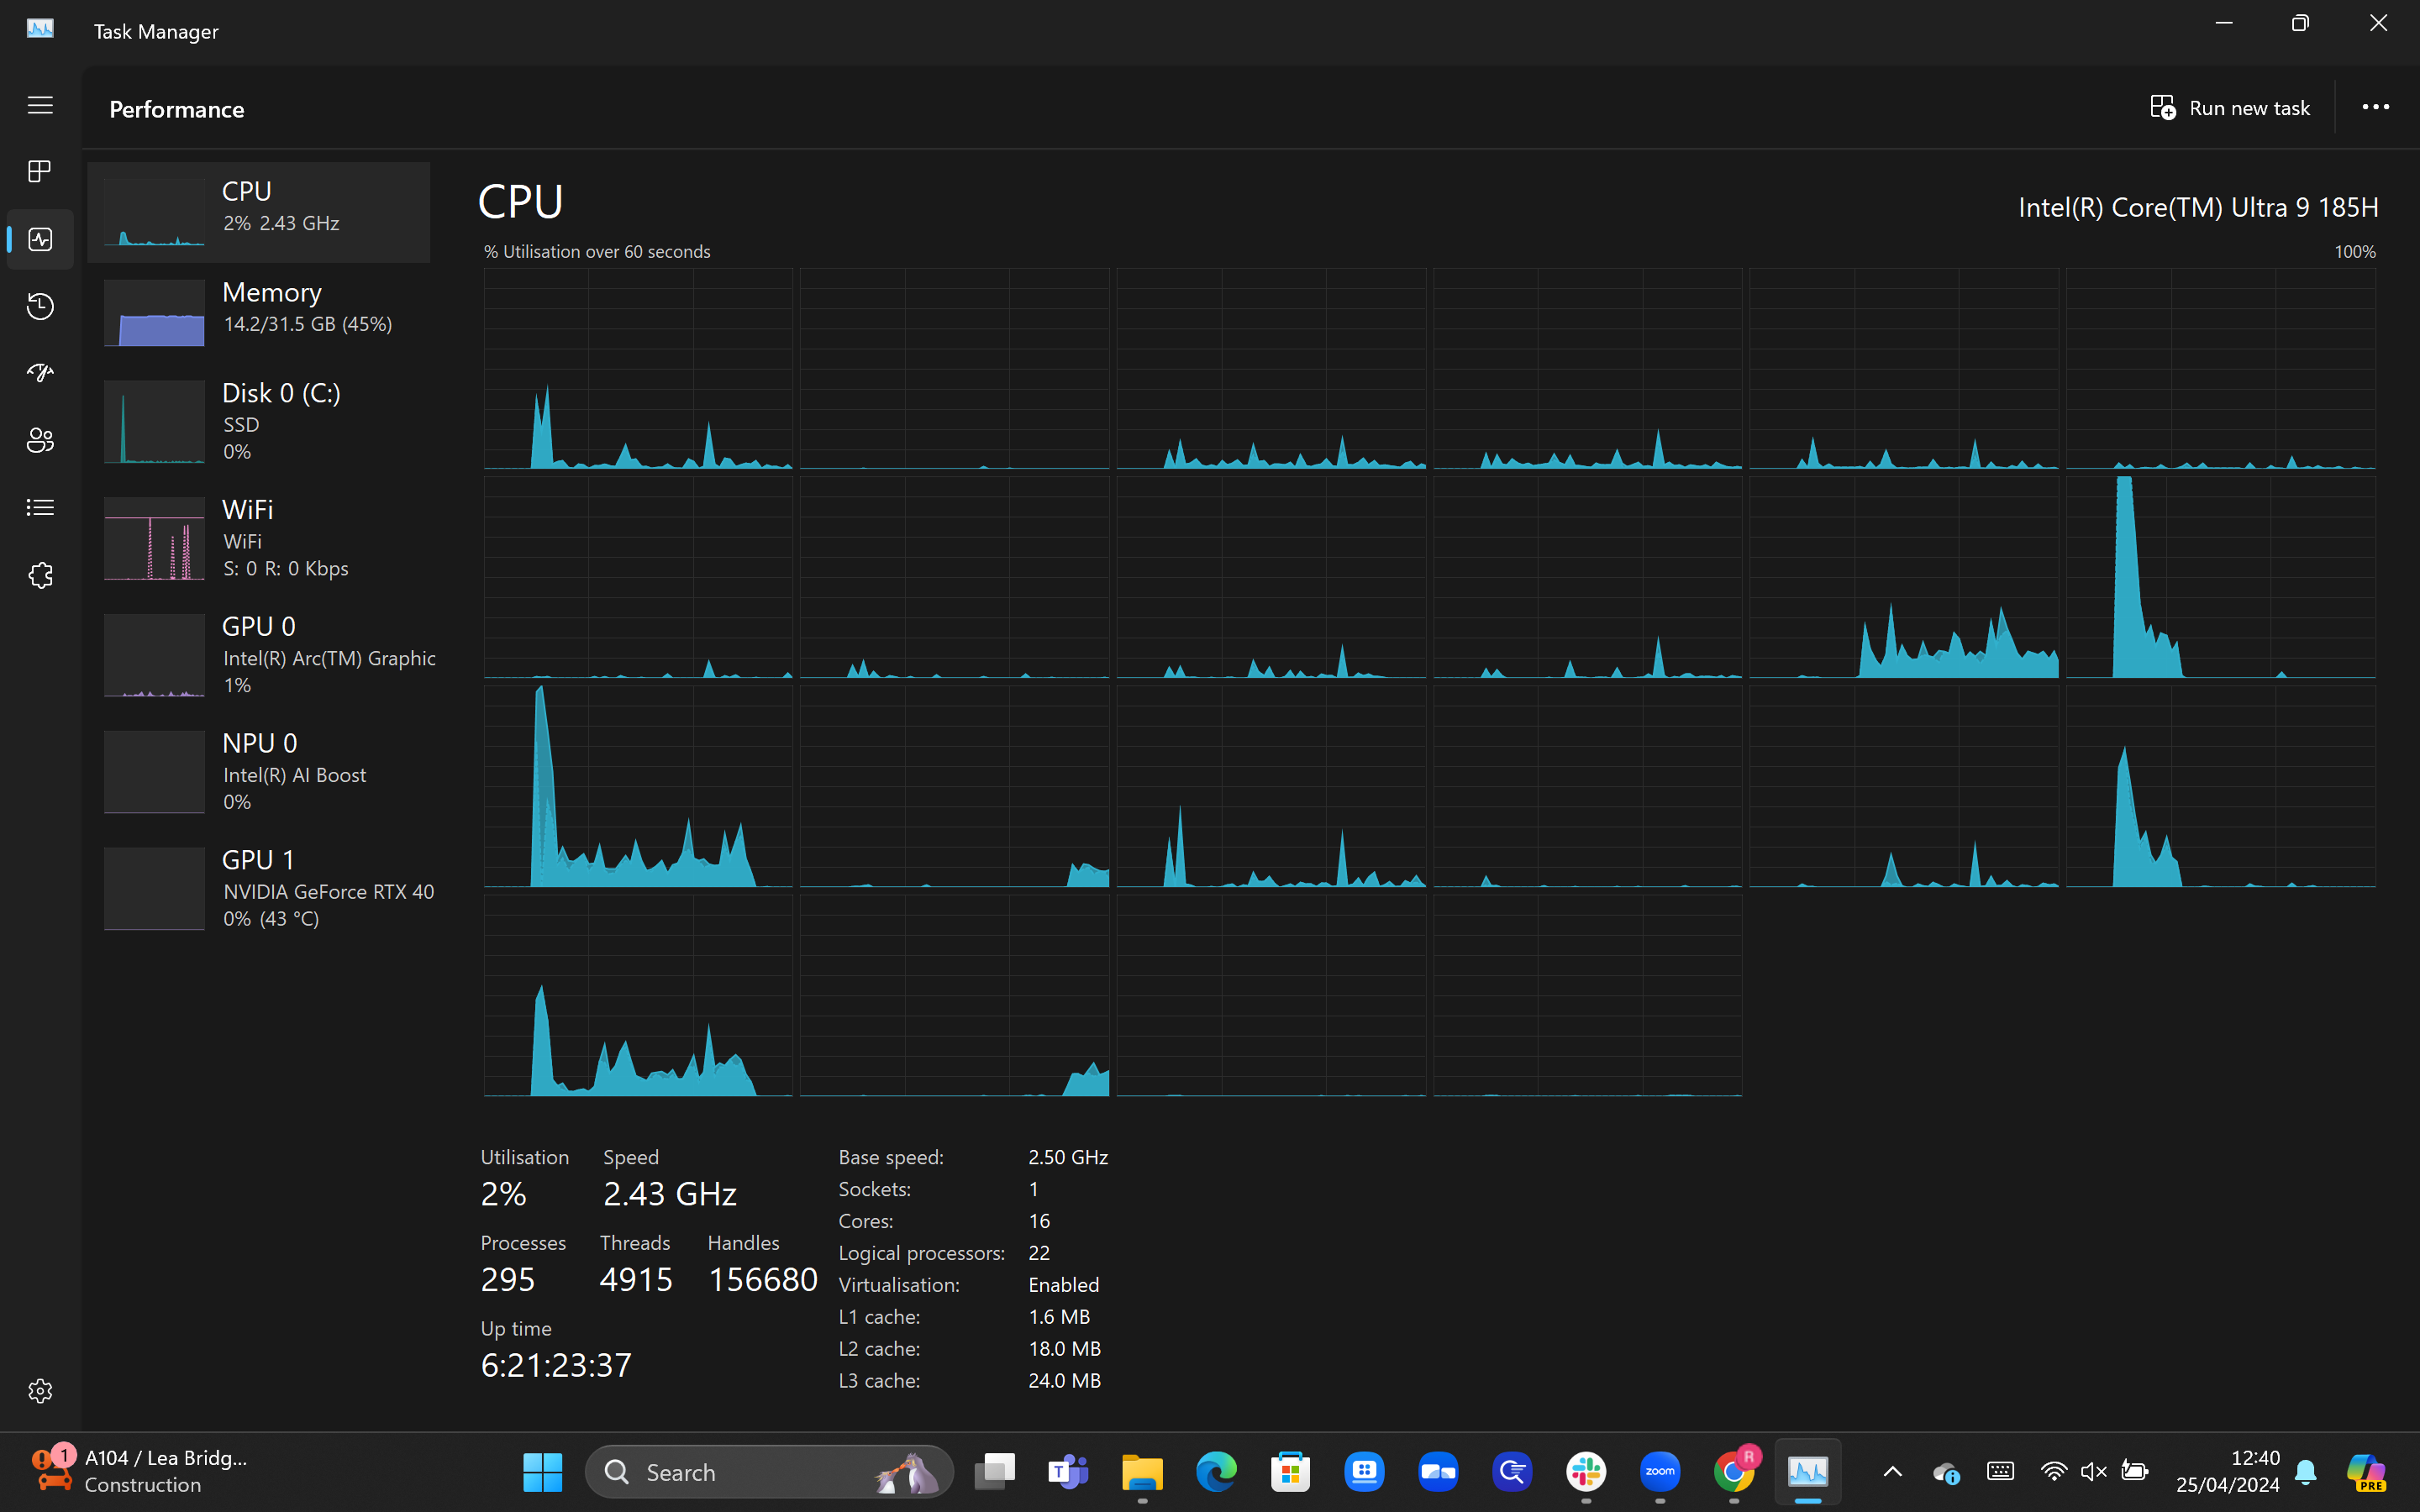
Once you’ve completed the prior step, you should notice that the graph has now been broken into multiple windows, with the number depending on how many threads your CPU has. In our laptop’s case, the 22 threads are represented by 22 windows, all providing a snapshot of their current utilisation.
Troubleshooting
If you want to find out how many cores your PC’s CPU has, then go to Task Manager > Performance. You should see the number of cores listed below the graph.
You may notice that only one core is working hard, while the rest remain dormant. This is nothing to be concerned about, as most basic workloads on a Windows PC do not require the utilisation of multiple cores. You only really need a large number of cores running at full hilt when running complex tasks such as video editing and 3D animation.
You might like…


Editorial independence
Editorial independence means being able to give an unbiased verdict about a product or company, with the avoidance of conflicts of interest. To ensure this is possible, every member of the editorial staff follows a clear code of conduct.
Professional conduct
We also expect our journalists to follow clear ethical standards in their work. Our staff members must strive for honesty and accuracy in everything they do. We follow the IPSO Editors’ code of practice to underpin these standards.